
Clip to Shade
I’ve learned this, but I’m still learning to be better at it. So anytime I find someone good at it, I love it when they share, like luma_llama did here:
The main strategy is to add a clipping mask to the object needing shading and highlighting. That way, the original object remains untouched.
For the first one, I used a silly shading brush I made myself for spotty shading.

My brush is for smaller areas, so I decided to try a new brush in the ProCreate 5, Hartz. [well, it’s new to me]
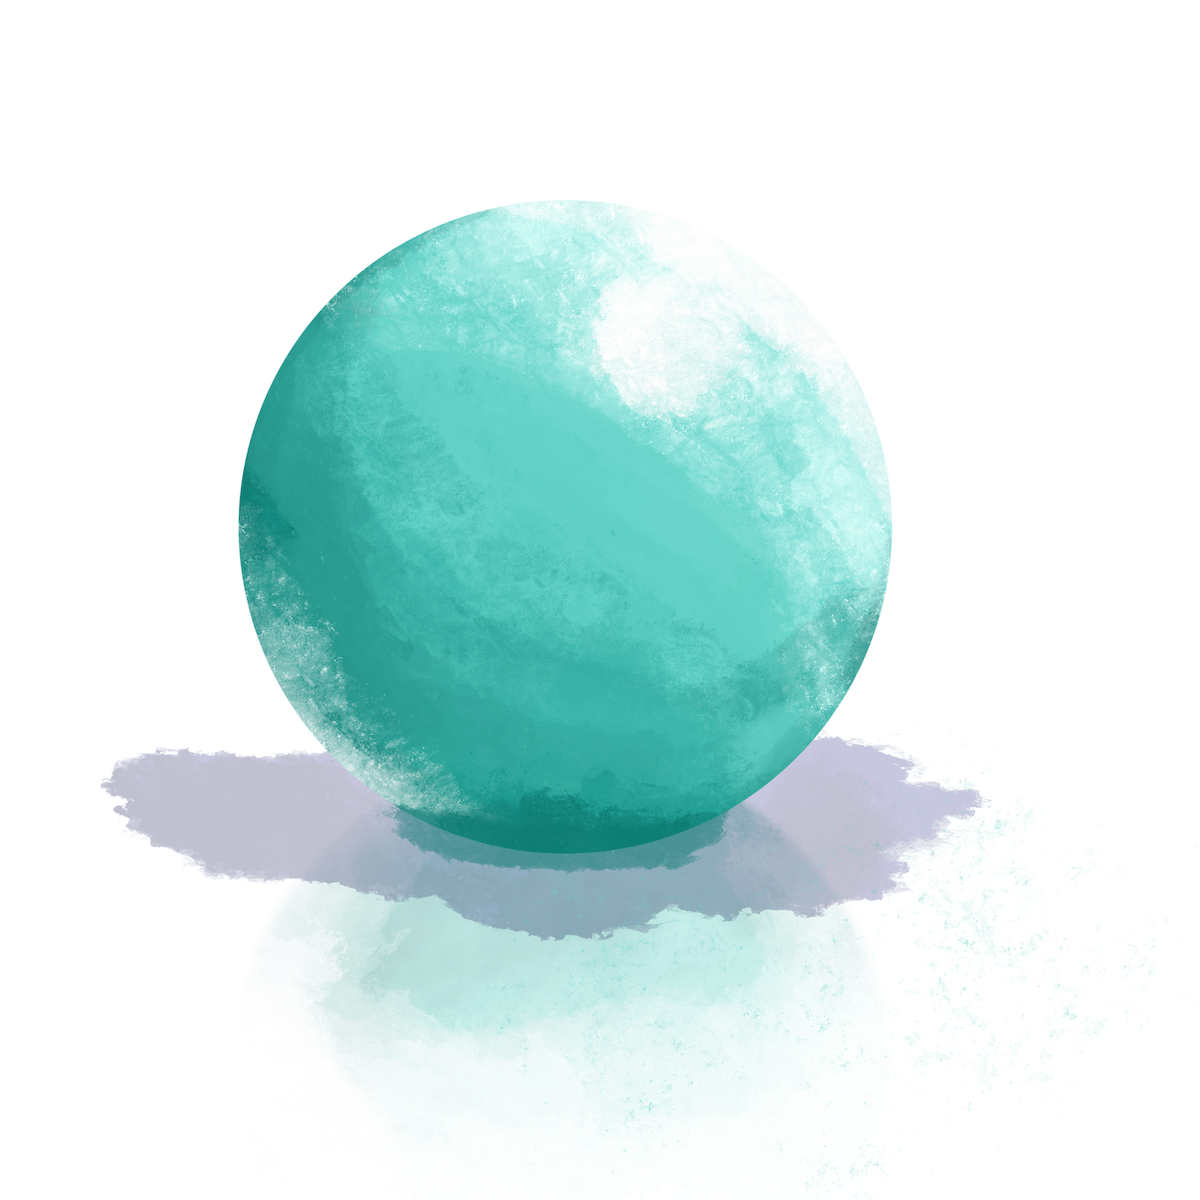
However, I discovered that the Hartz brush doesn’t adapt well when the layer’s opacity is decreased. That’s why I erased a bit with Artist Crayon. I do like this one:

If you’re working on shading,
please share your strategies !
For instance, besides using the “clipping mask,” for shading and highlighting, I learned more from luma_llama in the shared video:
- use a dark color for shading, but not black
- change color with the tool under the magic wand with “hue, saturation, brightness” instead of alpha lock + fill layer
- two things so the object isn’t “floating:”
- shade in the “contact color” — a darker version of the object’s color–below the object
- add the lower very dark shadow on the object, above the contact color
- reflection is a duplicate of the object, flipped upside down and moved below the object, erasing from the lowest point back up to the bottom of the object
So much to know!
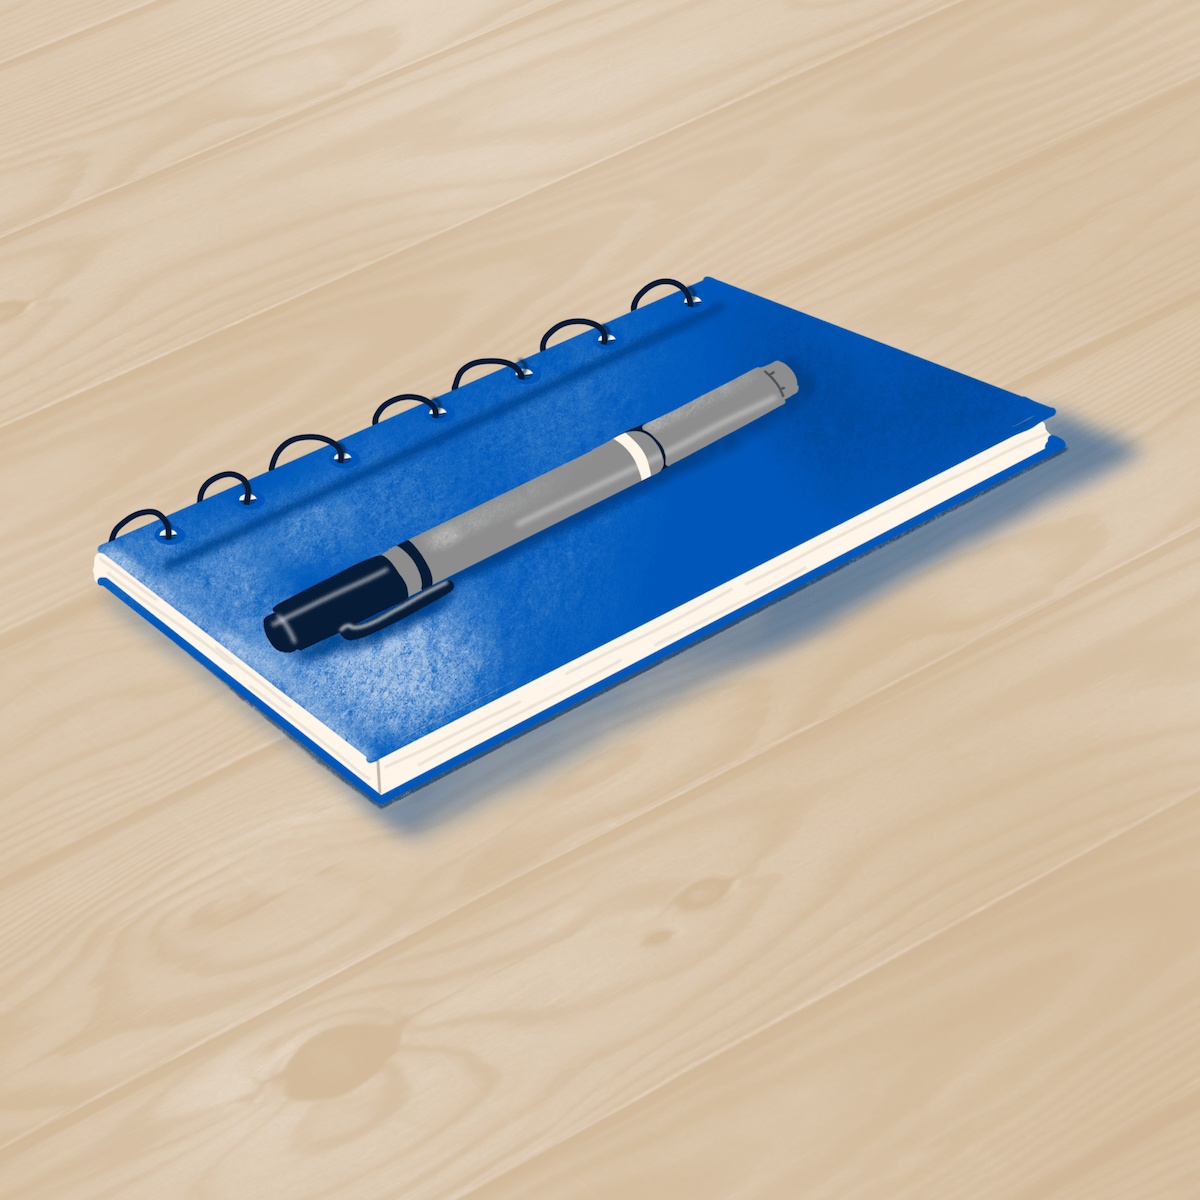
And I applied the strategies to my art challenge for #drawingdaily2020: Art Supplies [top image].
Categories
Sheri Edwards View All
Geeky Gramma ~~
Retired Middle School Language Arts/Media Teacher ~~
Writer and Thinker~~
Art from the Heart
